Essential tools for your next DIY project
Want to get into DIY but you just don't know where to start? This guide looks at the best tools to help you get the job done right
You might want to build your own garden room or take on a renovation project or two. If you’re confident enough, doing it yourself will save you money and teach you valuable life skills. Feel like you want to take on your next project yourself? You’re going to need the best DIY tools for the job.
But if the idea of buying a cordless drill or laser level fills you full of dread, don’t worry. In this guide, we’ve put together a list of tools for DIY that will supercharge your next home improvement project.
Safety first
Whatever you do, before you even think about drilling holes or sanding painted surfaces, get yourself some PPE. Personal Protective Equipment isn’t just for professionals. Make sure you have quality ear defenders, safety glasses, a dust mask, and steel toecap boots.
You might be surprised that, according to the Health and Safety Executive, the most common injuries sustained on building sites in the UK don’t come from circular saws or hammers, but from slips, trips, and falls. To help avoid this type of injury, you should keep a clean and tidy work area, and watch out for trailing cables or loose materials.
Battery or corded power tools?
One of the confusing things about power tools for beginner DIYers is how they’re powered. Corded power tools lack the flexibility of their battery powered counterparts, but are usually cheaper to buy.
It depends on where you want to use your tools. Corded versions of things like drills and sanders are usually more affordable, and you never need to worry about flat batteries half way through a job. The downside is that they’re nowhere near as portable and you’re tethered to a plug socket.
If you’re worried that battery powered tools are less powerful than their corded counterparts, don’t be. Modern battery powered tools are sometimes more powerful thanks to high capacity Lithium Ion battery tools.
As a rule, it makes sense to buy into just one brand of cordless tools. It means you only need to buy into one battery system.
Now, here are the best DIY tools you need to tackle your next home renovation task:
DIY hand tool essentials
So, let’s start with the absolute basics. Besides a sturdy pencil for making marks, you’re going to need a tape measure. Essential for making accurate measurements that will make or break a renovation project, you’ll find you use it all the time.
As they say, measure twice, cut once. With a bit of practise, you can also use a tape measure to scribe lines, draw circles, or even find the centre of a board.
Before you start browsing power tools, there are some essential hand tools that everyone should have for DIY jobs. A claw hammer can pound nails into wood and then take them out again, while a utility knife with razor-sharp, changeable blades is great for scraping, marking, and cutting. Pliers come in all shapes and sizes for cutting and gripping stuff.
And if you’re doing any sort of woodworking, a hand saw and speed square are invaluable pieces of equipment to have. Being able to accurately mark and cut at 90° isn’t just essential, it’s satisfying as well.
There are homeowners’ toolkits available that include just about anything you’ll need for most repair jobs. They’ll include all of the above, plus a set of screwdrivers and sockets for tightening bolts in things like flatpack furniture.

Power tools for DIYers
Drill
An essential piece of equipment for anyone who wants to get on with a DIY project. A drill is a highly versatile tool. If you want to make a hole in a surface or drive a screw into a piece of wood, you will need a drill. Different types of drills are available, but they all perform a similar function. You pull a trigger and the internal motor spins the “chuck” that holds a drill or screwdriver bit.
Drill drivers are the most budget friendly option, but if you want to make holes in hard surfaces like brick or concrete, you’ll need what’s known as a “combi drill”. Otherwise known as a “hammer” drill, it can apply a percussive hammering action to the drill bit that will allow it to make holes in masonry.
Workbench and clamps
Unless you really like cutting chunks out of your kitchen table, a folding workbench is one of the best DIY tools for a beginner. It gives you a place to clamp down materials securely, and it doesn’t matter if you cut into the edges.
Clamps are another DIYers best friend. They come in a huge range of shapes and sizes, but the most convenient are squeeze clamps. With their trigger action and soft rubber pads, they’re easy to use and won’t mark surfaces. Keeping a firm hold of your workpiece, you can keep your finger out of the way of a sharp blade. Just remember, you can never own too many clamps.
Impact driver
Although this tool might look just like a drill, it’s a different beast altogether. Essentially, it’s a very powerful screwdriver that hammers while it screws. The hammer action allows you to drive long screws into wood without breaking a sweat.
When you’re doing a bit of carpentry, and you want to drive a lot of screws into wood, an impact driver is the ideal tool.
Jigsaw
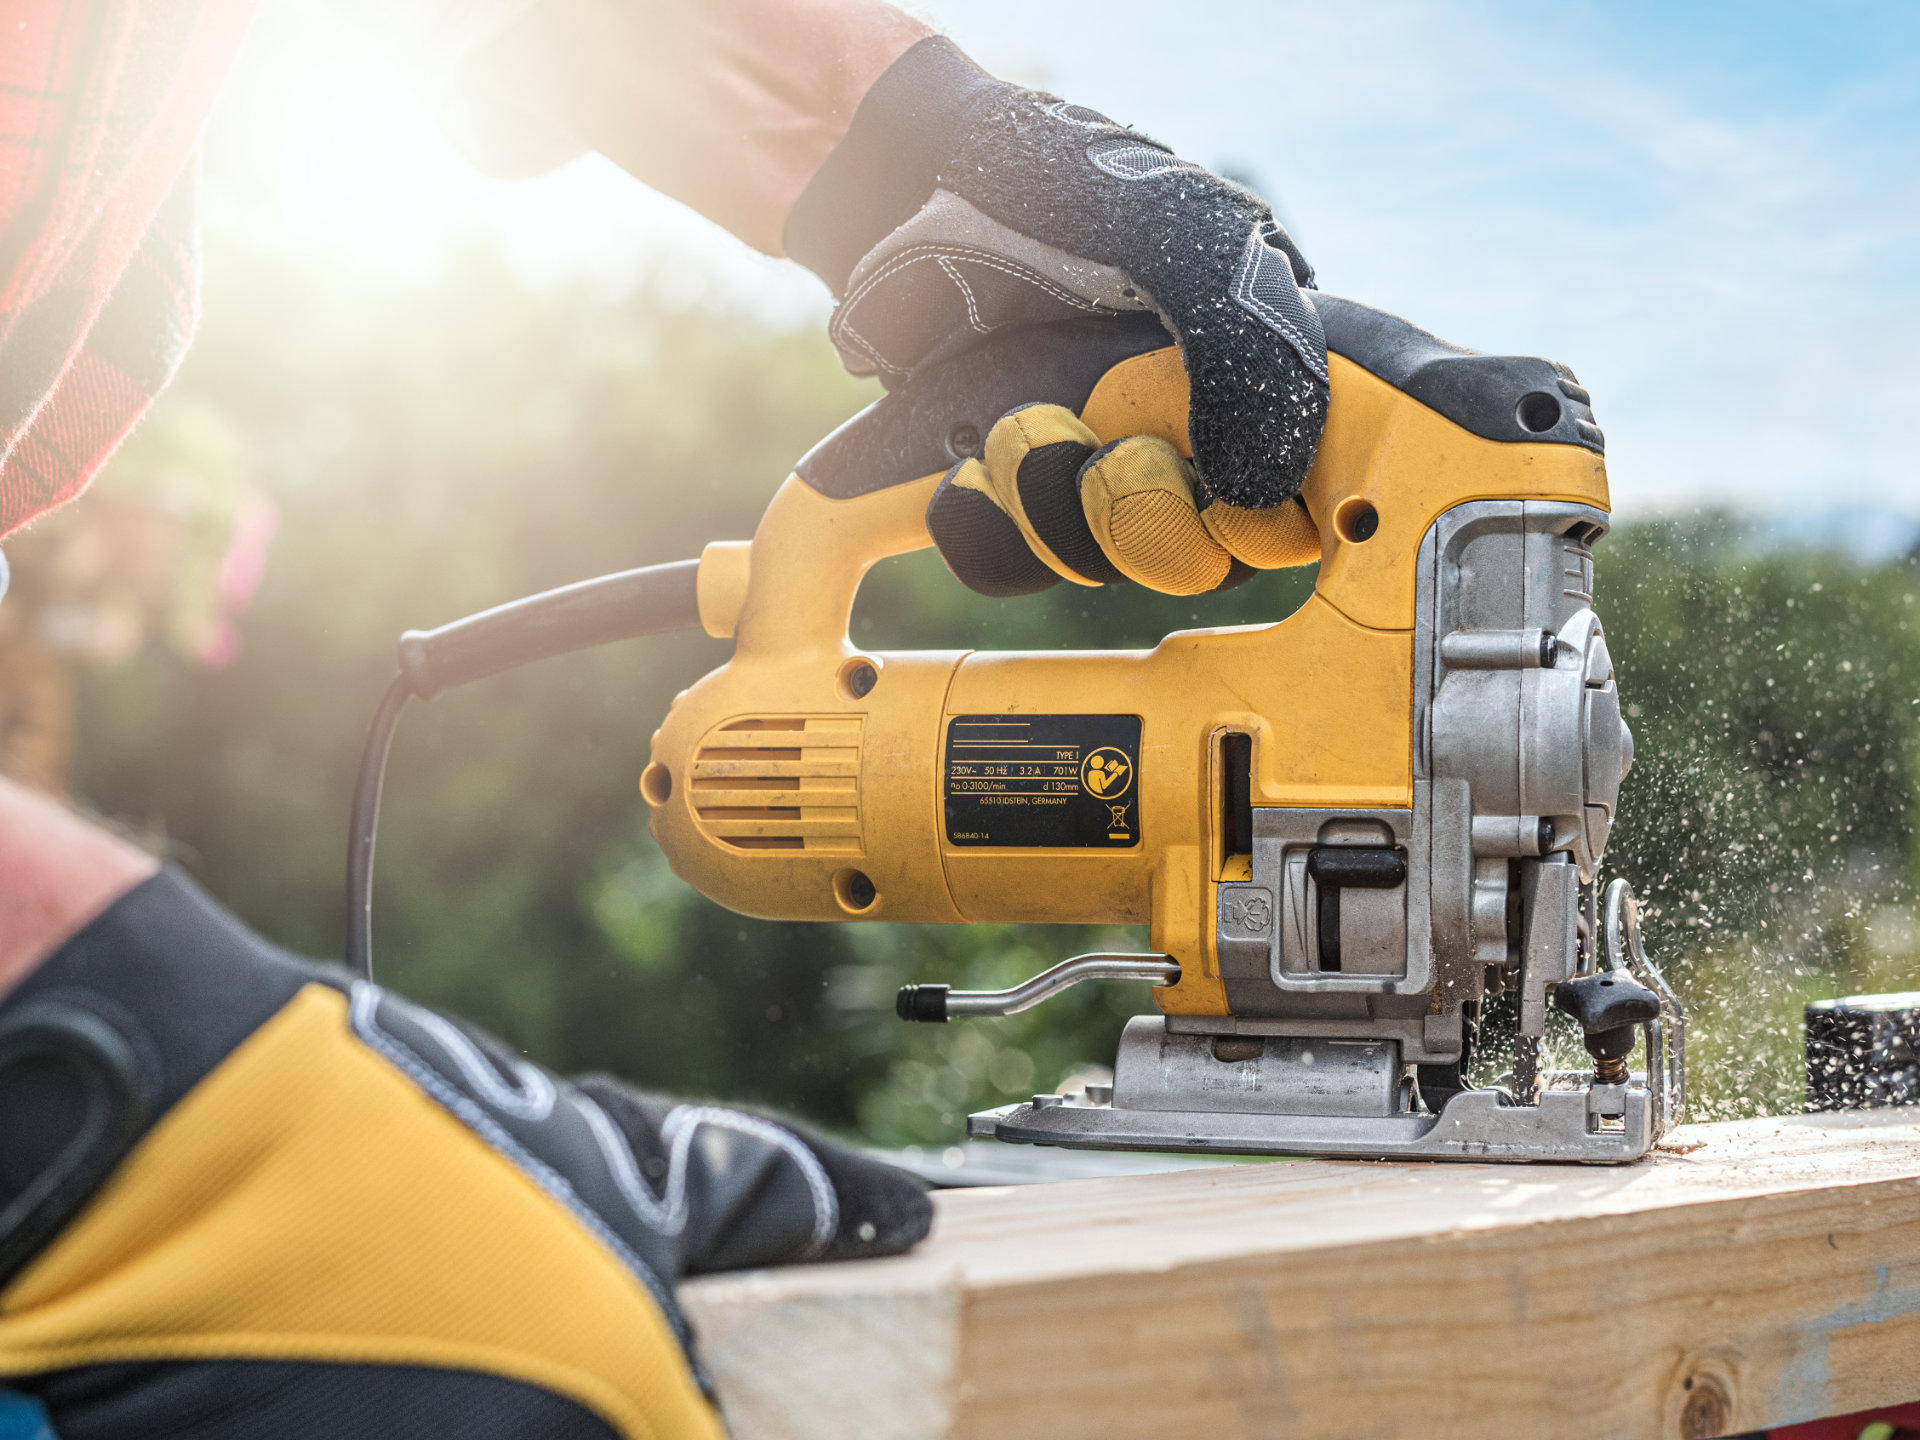
One of the most familiar saws to beginner DIYers and seasoned professionals, a jigsaw is a do-it-all tool. Easy to handle, and a great tool for cutting sheet materials, it’s an essential addition to any proper tool kit.
Just like any power tool, the shortcut to better results with a jigsaw is buying better blades for it. Professional-level blades will elevate a basic jigsaw and transform wobbly cut lines into something you’ll be proud of.

Multi-tool
These aren’t to be confused with a pocket knife favoured by hikers and the Swiss military. You might not have heard of one of these, but it might just become your go-to power tool. It can perform a range of tasks like sanding off old paint, scraping stubborn bits of wallpaper off, and cutting through just about any material in any direction. It really is one of the best DIY tools out there.
Technically known as an oscillating multi-tool, its special feature is the “push cut”. Unlike a traditional saw, you can quite literally plunge the blade into the material
Mitre saw
If you’re planning a home renovation and you need to cut multiple pieces of timber at an angle (with any sort of accuracy), you need a mitre saw. It’s a benchtop tool that uses a spinning circular blade to make repeatable cuts at a range of angles and bevels.
Let’s say you want to spruce up your living room by replacing the skirting boards. Cutting accurate joints for inside or outside corners is a slow and exacting process without a mitre saw. You can even get hold of battery-powered versions if you haven’t got access to mains power.
Laser level
Once the sole property of professional builders, a laser level is now a DIYers best chance of getting things straight, first time. Useful for everything from hanging up pictures to building stud walls, these tools shoot either red or green lasers in perfectly vertical or horizontal lines around the room.
Easier to use than an old-fashioned spirit level (and a bit more fun too), a laser level can even be locked off, allowing you to shoot a precise beam at any angle you like. Try using a laser level the next time you want to hang wallpaper, or put up a set of shelves.

Sander
Turning a rough piece of timber from a splintery mess into something attractive takes a lot of sanding. But you don’t have to do it all by hand. To remove the varnish from old floorboards, you’ll need a heavy duty belt sander, while a random orbit sander is the right tool for reviving an old chair. There are sanders with fine tips on them to get into tight spaces, too.
It’s not just the type of sander that makes the difference when removing old paint or shaping timber though. The sandpaper comes in different grit sizes. The lower the grit number, the rougher the paper. The general rule is to start with a low number like 80 to remove material, then work up through the numbers until the sanding marks disappear.


