My heat pump journey part three: installation
It was installation day. We were finally getting a heat pump… or were we?
This is the third story in my heat pump journey. Part one is about preparation, especially insulation, and part two is about the survey to see if a heat pump was possible – this one is all about installing a heat pump…
Octopus Energy had visited and we were green-lighted for an air source heat pump, with a healthy £7,500 Boiler Upgrade Scheme (BUS) grant bringing the cost down to comparable to a new gas boiler, thanks to my epic amount of insulation.
But installation was far from plain sailing – in fact, it was the most dramatic part of my heat pump journey.
Be prepared
Preparation for installation day was straightforward.
We’d done the survey and had the BUS discount approved. I’d signed the paperwork.
I was happy… not just to get rid of fossil fuel dependency but also to have hot water and central heating again.
My old boiler had died and we urgently needed to replace it, one way or another.
My preparation was simple: emptying the relevant kitchen cupboards, clearing the side passage, stocking up on tea and coffee for the workers.
Jonathan Maker had a bigger job of deconstructing the bespoke cupboard to give the Octopus Energy team space to work, so they could install the heat pump.
The big day
The Octopus Energy team arrived bright and early, en masse.
There was someone to decommission the old gas boiler, someone to install the outdoor bit of the heat pump, someone to install the indoor bit, someone to do the electrics, someone to work on radiators and more.
But by 9:30am I was reeling. The installers had decided that my central heating pipes were too narrow for the heat pump to work.
Basically, the surveyors had seen the wider 22mm copper pipe coming out of the boiler and ticked it off but, now that the cupboard was deconstructed, it was easy to see that this narrowed to 15mm pipes.
To be fair, most people have 15mm in my experience. And I’d only been warned that ‘microbore’ (narrower 8 or 10mm central heating pipes popular in the 1970s and 1980s) would require new pipework.
The bad news
The team apologised and headed back out to their vans. They were sorry, I was devastated.
Redoing all the pipework wasn’t an option because of the disruption: my whole downstairs has parquet flooring that can’t be lifted.
But my old boiler was dead, so I didn’t have a Plan B – would I really end up getting a new gas boiler and shackling myself to fossil fuels for another decade?
It was late autumn. We had relied on friends for baths and showers for a few weeks and the weather was starting to get cold.
I needed another plan fast.
To make matters worse, my cupboard was in pieces and everything was emptied, so the house was as much of a mess as my head.
A glimmer of hope
I couldn’t think straight. I’d expected to have a working heat pump by the end of the week but now I just had a mess and no plan.
I felt paralysed. I think I drank a coffee. Then one of the Octopus Energy team popped back in – they were sat outside in their vans, chatting to people in the office, trying to make this work and were busy figuring out whether the heat pump could heat the house well enough with my 15mm pipes.
I won’t tease you… it could!
After further discussions, they then returned and told me the good news: they’d done the maths and – thanks to my fantastic insulation detailed in part one – the heat pump installation could go ahead after all.
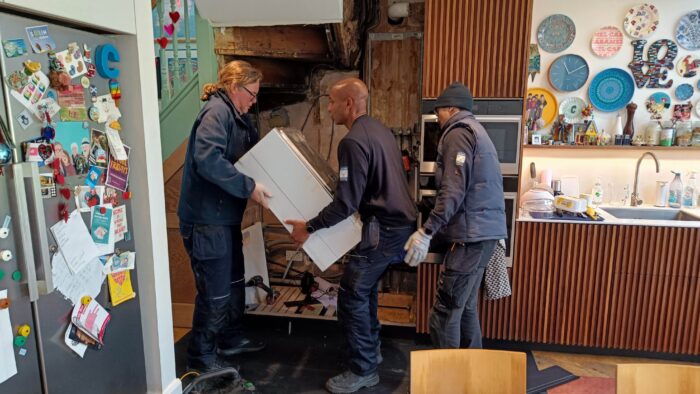
The Octopus Energy team remove my old, dead gas boiler, ready to install the heat pump
Absolute bargain
Now the heat pump installation started in earnest.
First up was removing my old combi boiler. Then the team worked inside and out on the back-to-back installation.
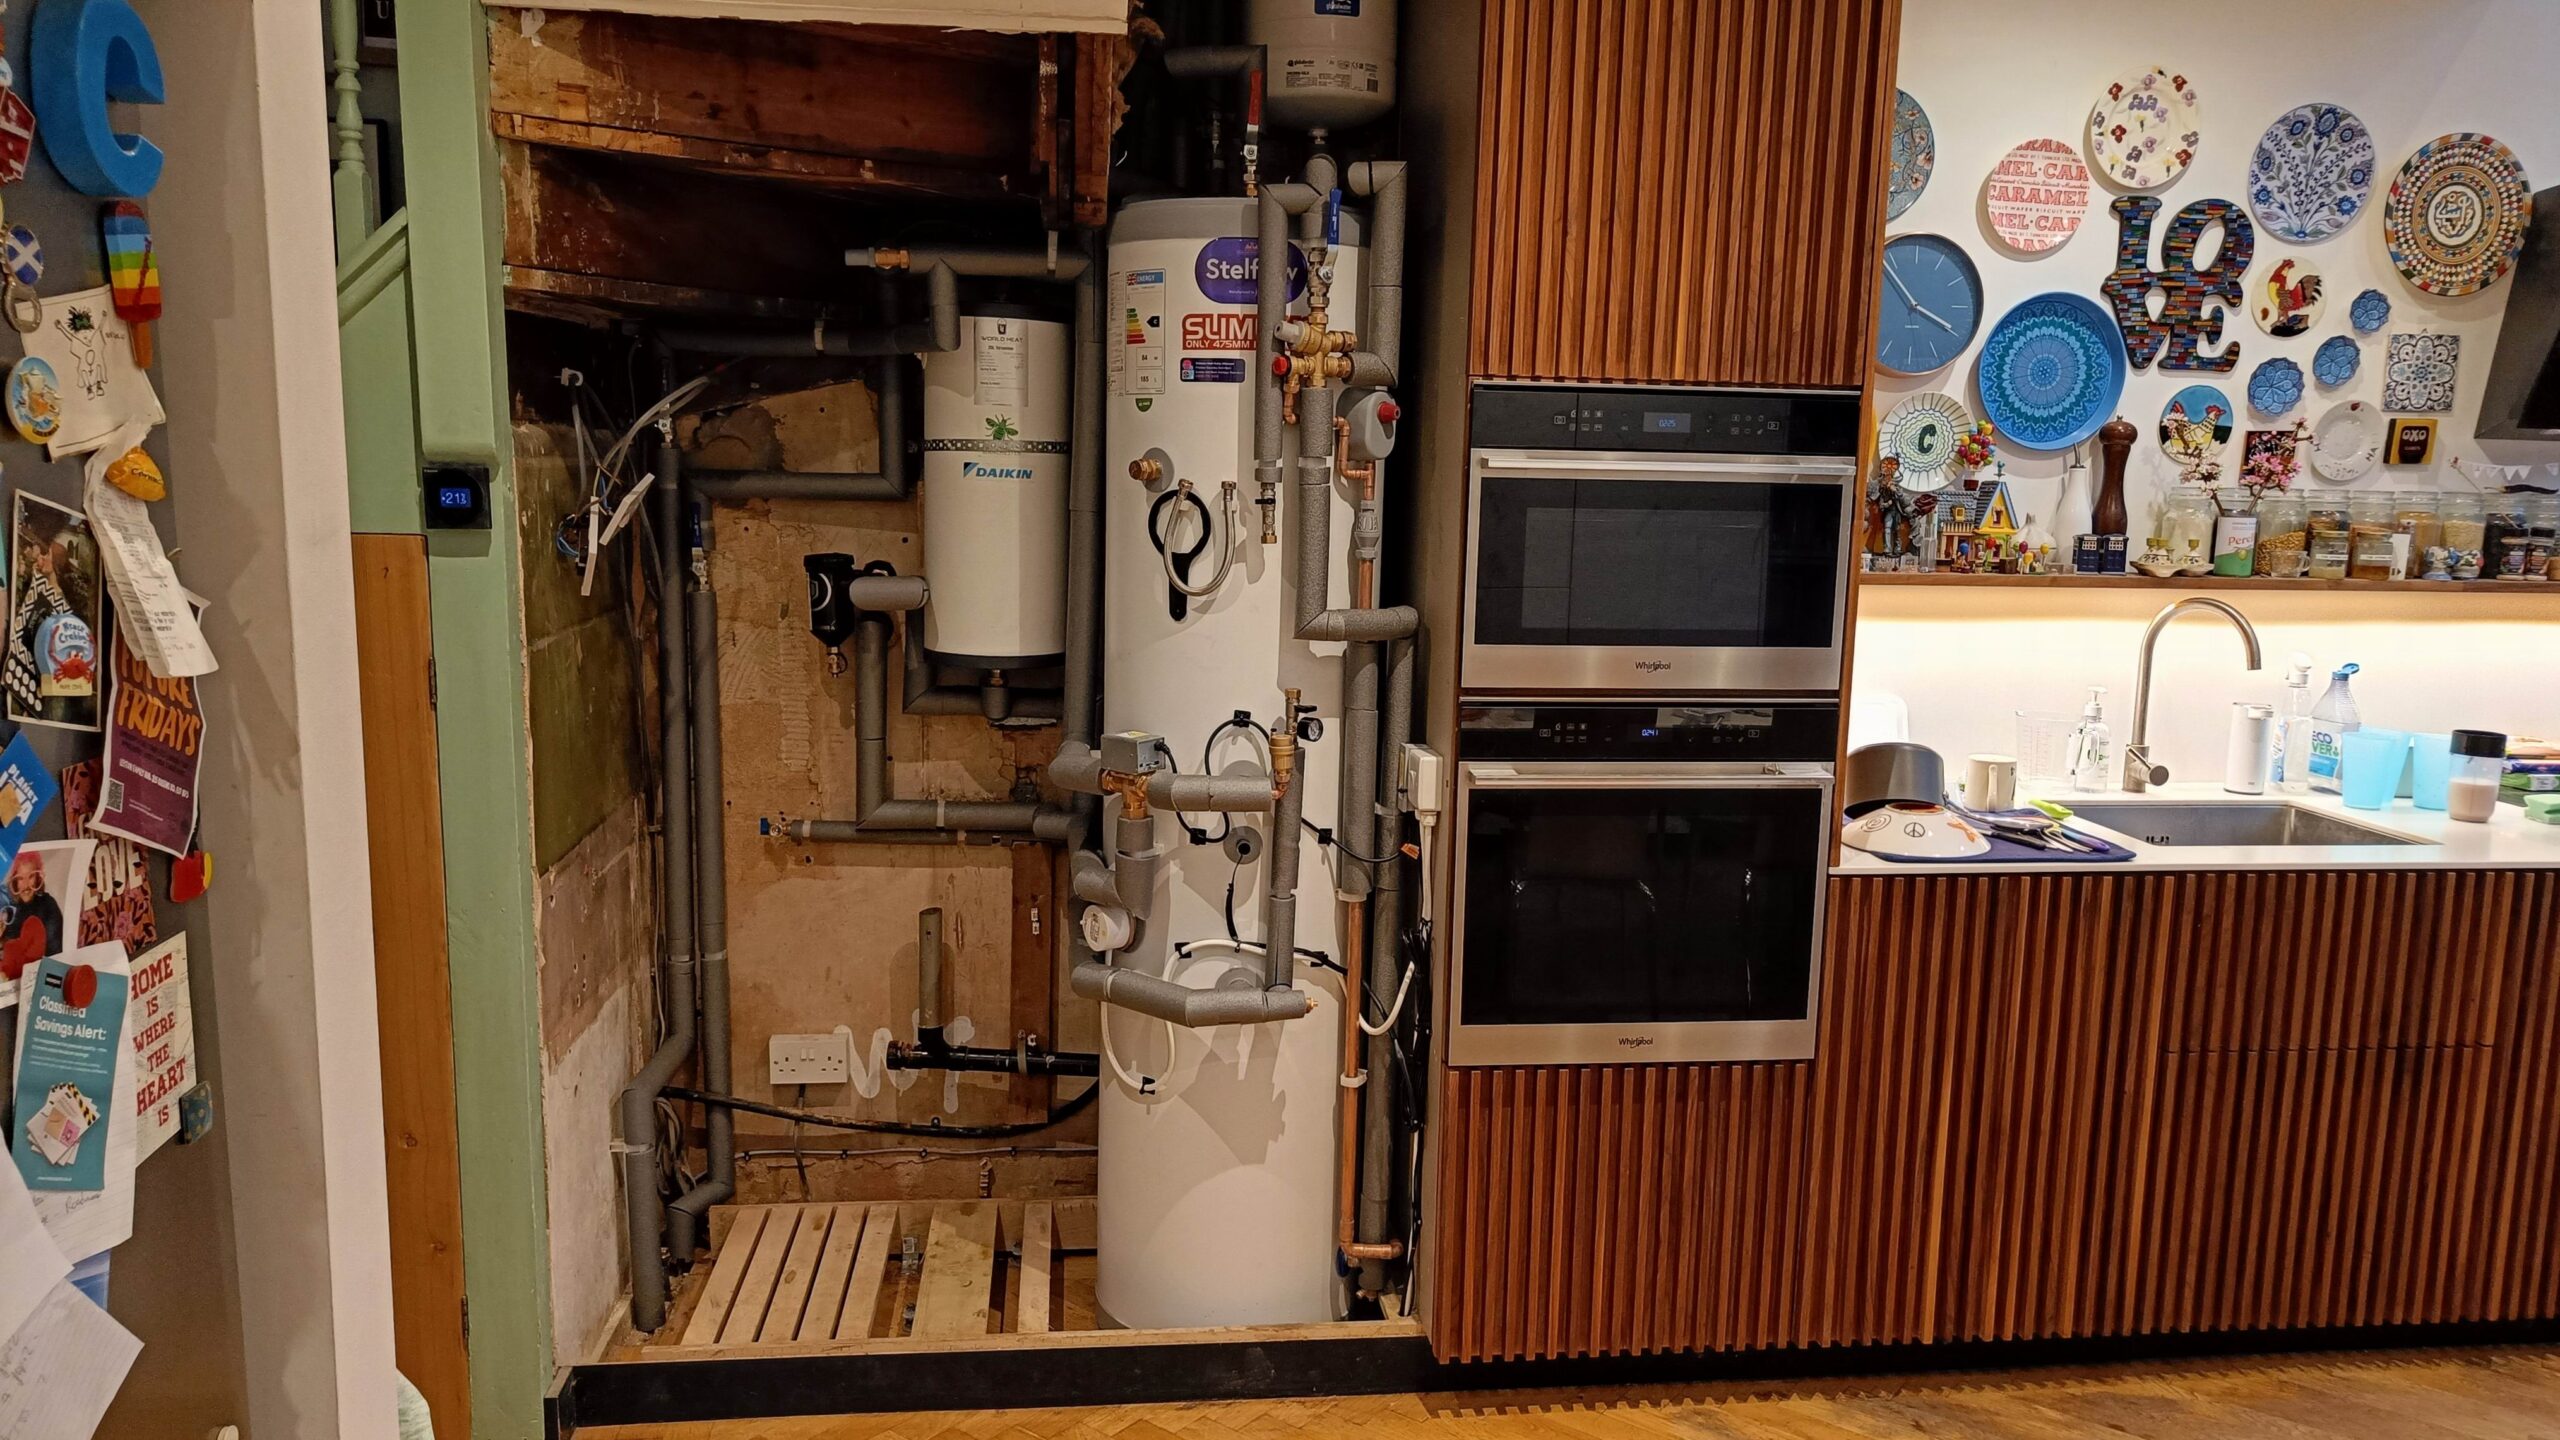
Outdoors was a doddle – but indoors they had to work really hard to fit everything into my cupboard. They used a tall, thin cylinder for a family-sized water tank with a smaller-than-normal footprint.
The system also needed a mini cylinder called a volumiser and this was hard to shoehorn in.
We toyed with hiding it in the cupboard under the stairs but, even though the gas meter could now be decommissioned, the cylinder would make it hard to access the electricity meter and consumer unit.
The team ultimately swapped the volumiser for a different one that would fit.
And the plumbing was outstanding, fitting in the space with great care.
Looking at the finished job, I find it hard to wrap my head around the fact that it only cost £2,400, but of course there was a huge £7,500 Boiler Upgrade Scheme grant too – so it’s really £9,900 worth of equipment and work, and it shows.
Under the current grant scheme, a heat pump is an absolute bargain.
Rad ideas
I also needed two radiators replacing. Radiators get replaced in order to put out more heat.
You might get a larger radiator or one that discreetly has more panels – this is because heat pumps circulate water at a lower temperature than gas boilers (around 45-50°C rather than 65-70°C).
The surveyors who came in part two had specified two radiator changes – less disruptive than new pipes because they can usually replace with radiators that look similar but put out more heat, measured in BTU.
One of mine was a vertical designer radiator that was pretty modern but the replacement looked similar.
The other was a small rad in my hall. This was replaced with a much larger radiator, but I quite like the new one and it was fitted very neatly.
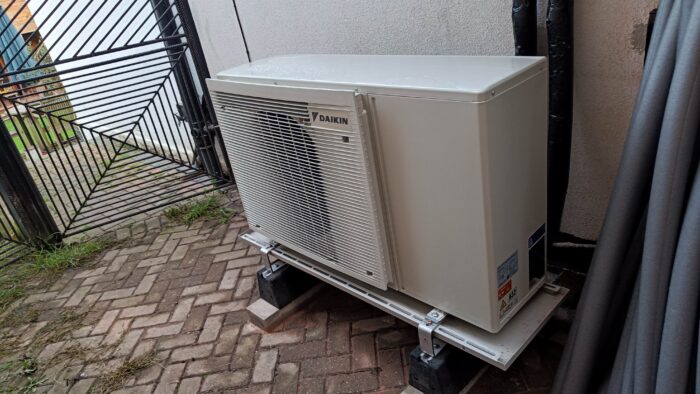
The Daikin heat pump, in my side return, is surprisingly quiet
The heat pump setup
It took the team four days to install everything, get the heat pump system working and teach me how to use it. The heat pump is the Daikin Altherma 3 Monobloc.
The outdoor unit is big and looks like an air conditioning unit.
It’s large but it’s not loud. Indoors you mostly see cylinders and lots of pipes.
There are two control panels: a simple one on the wall, the size of a light switch, that lets me set target temperatures, and a bigger one tucked under the stairs that controls everything.
I can also control everything, and create schedules, from the Daikin Onecta app.
The system is set up with a flow temperature of 45°C. I could set it higher but lower flow temperatures are more efficient.
This gives it a Seasonal Coefficient of Performance (SCoP) of 3.71 – meaning that for each kW of electricity used, it puts out 3.71kW of heat, whereas a gas boiler is more like 0.9.
How can it be nearly 400% efficient?
No, it’s not magic or against the laws of physics. It’s taking energy from outdoors, even on a cold day, and moving it indoors. There’s an explanation of the tech in my first piece.
There is an immersion element to heat the water tank directly too, if necessary.
For example, I’d use it if everyone in the family decided to have a bath on the same night.
In practice, I don’t use it. But the app schedule uses it to heat the water tank to at least 60°C once a week for a disinfection cycle, killing off bacteria such as legionella.
I’ve set this to be in the early hours of Sunday morning because Sunday is a popular bath night, so we’ll make good use of the hot water later in the day.
It worked… we were no longer shackled to fossil fuels and, crucially, we had hot water and central heating again.
I finally had a heat pump!
In the fourth article in this series, I’ll talk about the cabinetry: how we fitted a heat pump into a bespoke kitchen that wasn’t designed for it – because heat pumps are great… but you don’t necessarily want to look at them. I’ll talk about how we restored beauty.
Meanwhile, if you didn’t read them yet, do read part one and part two of my heat pump journey.
READ MORE: