7 painting and decorating tips for your home renovation
If you usually leave painting and decorating to the professionals, now could be a good chance to make up lost time
If you usually leave painting and decorating to the professionals, now could be a good chance to make up time lost during social distancing and save costs on your project by learning to do it yourself.
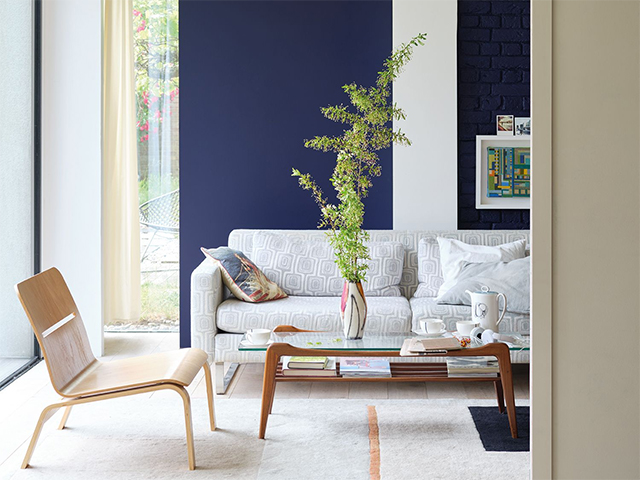
Image: Farrow & Ball’s Natural History Museum collection
When you’ve spent a considerable amount on a home renovation project or self-build, one thing you won’t want to do is let it down in the final moments with a poor quality job done on the painting and decorating.
However, in the current circumstances, with the potential of closed sites and delays to your build which may be costing you extra funds, as well as time, it could be a way to both stave away self-isolation boredom and keep your project on track.
To achieve the best finish possible, keep these simple tips in mind when tacking a decorating job.
Check in with your builders
If you are going to take the leap in decorating your home while work is underway, start by checking in with your builder or project manager. While they may not necessarily be the most happy to see you undertake the work, it’s good to get an idea of where they’re up to and find out about any spaces that shouldn’t be painted yet, to manage expectations and avoid any future conflict further down the line.
Prepare the walls and woodwork
A build project should mean some brand new walls to paint – if you’re painting on top of fresh plaster, the usual process is to do something known as a mist coat. This is a coat of watered down emulsion paint which absorbs into the plaster and helps the paint to form a better bond. Always start by giving the wall a rub down with fine sandpaper before you start.
Where you’re painting an existing wall, it’s best to put the work in to sand down any flaking issues with plaster or existing paint, as a fresh coat of paint won’t be enough to hide these imperfections. Any holes in the wall should be filled with filler and sanded flat before being painted. Likewise, use wood filler to fix any holes or joins in woodwork. If you’ve used real wood skirting, a thin layer of filler can also be applied over knots in the wood and then sanded down to help stop them showing through in the painted finish.
Decorators caulk is used for around skirting boards and architrave. It is best applied after painting has taken place, but htis may depend on the finish you’re looking to achieve and the colours used for both skirting and walls.