How to build a window seat
Window seats can be used in any part of your home but most commonly in living rooms, kitchens, bedrooms and dining spaces
Do you have a window area with wasted space? Or do you fancy mixing up the design of your home by adding an extra seat, taking advantage of your view?
Whatever the reason, a window seat is always a welcome addition to a property.
Not only can it provide a great way to show off a beautiful view, as well as take up potentially wasted space, but a window seat can also provide you with extra storage and a focal point of a room.
Window seats can be used in any part of your home but most commonly in living rooms, kitchens, bedrooms and dining spaces.
Better still, a window seat is usually a project you can complete without needing to enlist the help of workmen.
But how are they designed? We chatted to the experts to get the lowdown on how to build a DIY window seat.
How do you build a window seat?
Thomas Goodman at MyJobQuote has helped to guide us through the challenging DIY project.
“If you’re building a seat into a window recess, the first thing to do is clear the space and measure up for the frame.
“The frame will need to be strong enough to support the seat, so you’ll need to attach battens to all three walls of your recess at the height you want your seat to be.
“You’ll also need two battens across the front, one at seat height and the other running along the floor.
“To strengthen the basic frame, you’ll then need to fit vertical and horizontal supporting battens. For a strong window seat, 2 x 4 (45 x 95mm) timber battens are a good choice.”
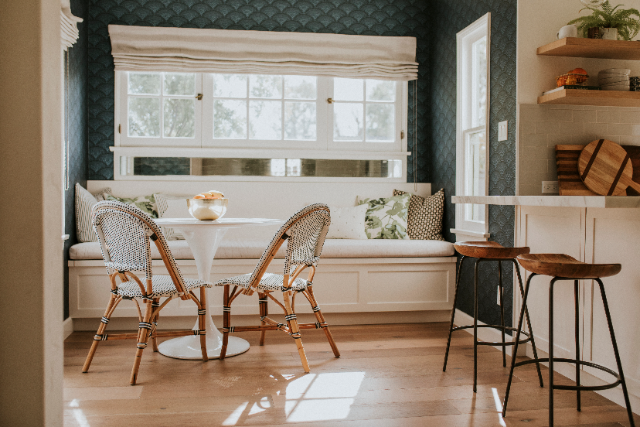
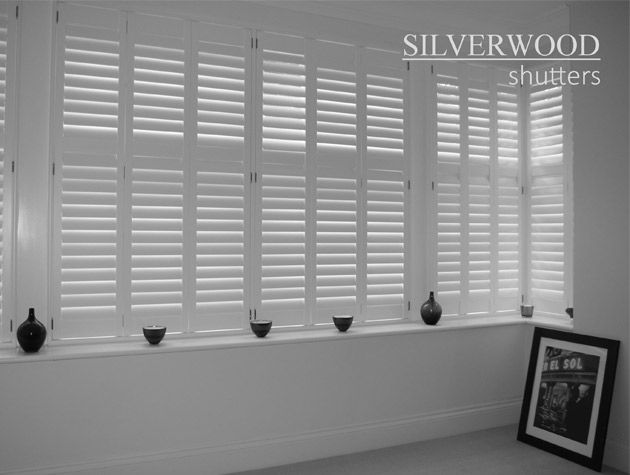
Photo: Adobe Stock
How high and wide does a window seat need to be?
Measurements can be tricky to get right, but Thomas has some top advice.
“If you’re unsure how high or wide to make your frame, use the other seats in your home as a guide.
“In general, dining and storage benches tend to sit at a height of 45cm to 47cm, as this is what’s considered comfortable for most people.
“But you also need to factor in the height of your window and the depth of the padded seats or cushions you’re planning to use on top.
“To help you nail down your frame design and calculate the amount of timber you’ll need, it’s helpful to sketch it all out on a piece of paper.
“Although your recess may look like a standard bay or box window, never assume that the angles of the corners are going to be exactly 90 or 135 degrees, or that the angle will be the same on both sides.
“Use an angle measuring tool, such as an adjustable sliding bevel or angle finder.
“This will ensure your battens are cut at exactly the right angle to sit flush against the walls and each other.
“A mitre saw will make light work of the cutting, but if you only have a hand saw, use a workbench or a pair of sawhorses and clamps to make things easier.
“To ensure you fix your battens on straight, use a spirit level and pencil to mark out where they need to go.
“Before you start drilling holes in the walls, use a wall scanner to check there are no hidden pipes or wires.”
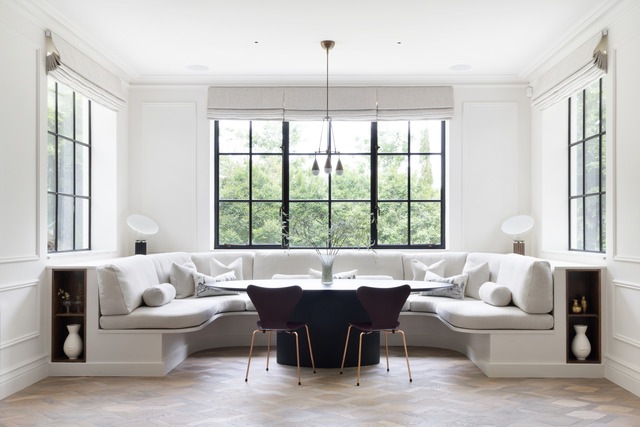
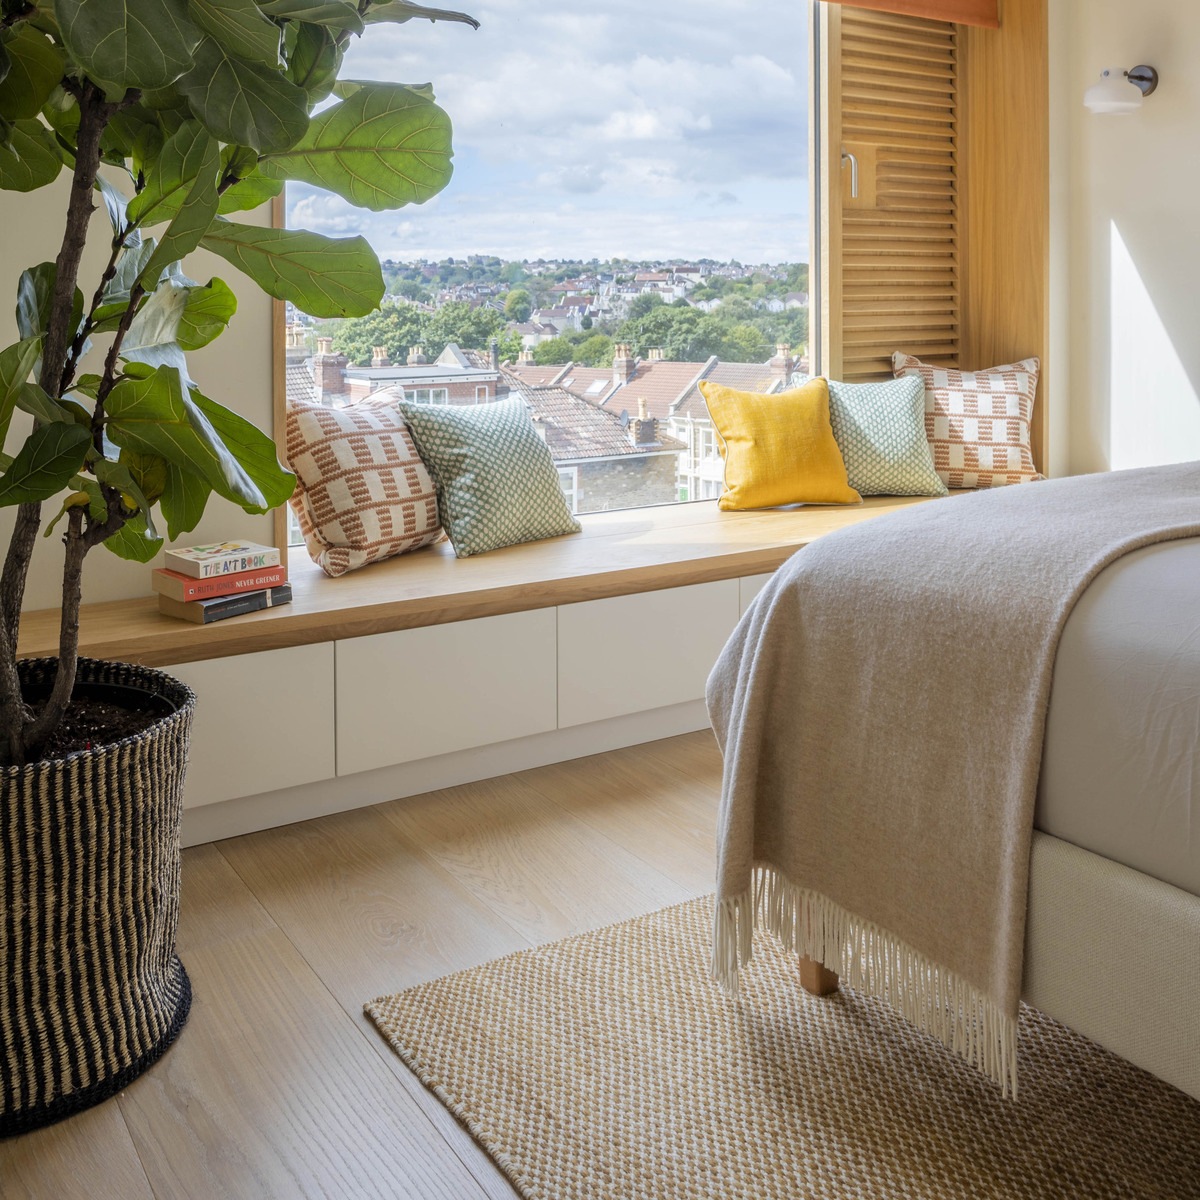
Photo: Searle Taylor Kitchens
What is the trickiest part of building a window seat?
“Screwing the battens to the walls is the trickiest part of the job.
“It’s best to make pilot holes in the timber and the walls first.
“Measure and mark where you’re going to make your pilot holes, so everything lines up.
“If you have an extra pair of hands, get someone to hold the batten in place on the wall when you make your pilot hole and drill just far enough through the wood to make a mark on the wall. That way, you can be sure your holes match up.
“If you’re screwing into masonry, use Rawl plugs to ensure the screws grip securely.
“To make sure your frame is as strong as possible, you may wish to use grab glue and screws to secure the wall battens.
“Once the wall battens are secure, move on to fitting the front two battens and then the vertical and horizontal supports.
“If you’re planning to create some storage under your seat, make sure you leave enough space between your horizontal battens for easy access.
“You want the screws on the top and front of the frame to sit flush, so they don’t interfere with the seat and front panels.
“To achieve this, use a countersink bit on the screw holes.
“When you’re happy that you’ve got a strong frame in place, you need to create a front face and seat.
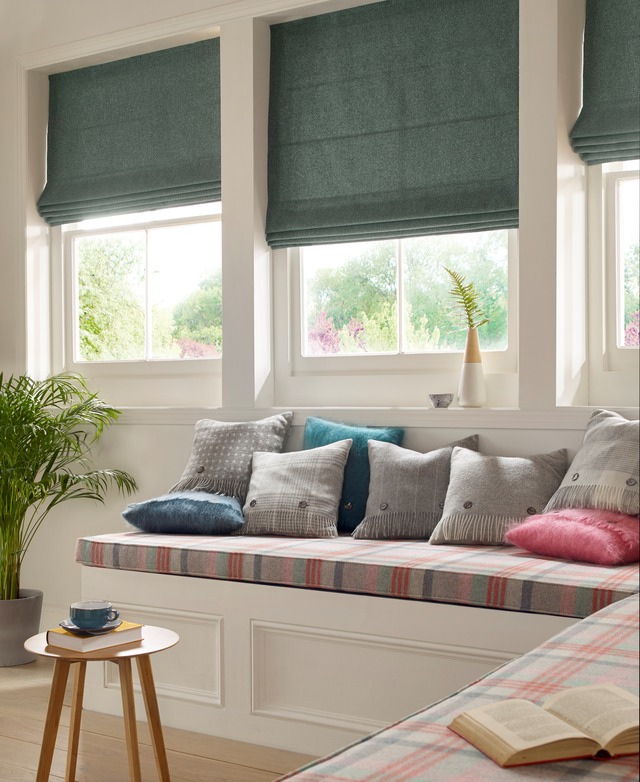
Photo: Moon
How to make the front of a window seat
“For the front, an MDF sheet with a thickness between 4mm and 6mm should be sufficient. You can attach this as one panel or as separate panels for ease.
“Don’t worry if there’s a gap around the sides where the skirting boards sit, as you can cover this with decorative panelling.
“To create decorative, shaker-style panelling on the front, take some thin strips of MDF and glue them around the edges and at regular intervals along the face.
“To get your edge pieces to sit flush against the wall and skirting boards, you’ll need to scribe the edges of your strips.
“You can do this with a scribing tool or by making a template with a piece of cardboard.
“To create a strong seat, you could opt to use a sheet of timber or plywood, but an MDF sheet that’s around 12mm thick will also work.
“When you’re measuring the top, you ideally want to include a small, rounded lip at the front to make it comfortable to use and to help you open and close the lid if you’re creating storage.
“You can buy MDF and timber sheets with a rolled or bullnose edge to save you needing to use a router.

Photo: Chaunceys Timber Flooring
What about storage?
“If you’re not creating storage, your seat can be made from one single sheet of timber, plywood or MDF.
However, if you want access underneath, you’ll need to attach the top in sections.
Measure, cut and attach the side and rear sections, leaving the central area for your seat lid.
To ensure your top sections are strong and secure, line up the edges of each section with the frame supports and screw these down.
“When it comes to the section that’s going to be your lid, you want to fix hinges to the edge that’s closest to the window, so you can lift it up and down.
“As you’ll be sitting on the lid, make sure the lid edges also line up with your frame.
“For extra strength, it’s best to use a continuous hinge or piano hinge rather than two or three standard hinges.
“Once your seat is fitted, fill and sand all the visible screw holes and caulk around all the edges.
“This will help you get a neat finish when you paint your seat, but make sure the filler and caulk you use are paintable.
“Once dry, you can prime and paint. To achieve a smooth paint finish, use a small roller and lightly sand between coats.”
READ MORE:
- A relaxation hub with views of The Shard
- Built-in storage: what you need to know
- How to get the perfect pantry