Planning a kitchen island
Ideas for islands; from creating a cook station to adding a freestanding design
With so many benefits, its worth exploring kitchen island ideas and inspiration. It serves as a fundamental centrepiece, enhancing both functionality and aesthetics. The importance also lies in its ability to provide convenience and efficiency during meal preparation and cooking.
With additional counter space a kitchen island enables multiple cooks to collaborate, making it ideal for social gatherings and storage solutions integrated into the island gain organisation, reducing clutter and creating a streamlined environment.
Raise the bar
Create a place to sit and eat by extending a worksurface. An overhang of 250-400mm provides adequate legroom, and a waterfall edge – where the worksurface wraps around the island – provides support if needed. The overhang also enables bar stools to be tucked neatly out of the way.
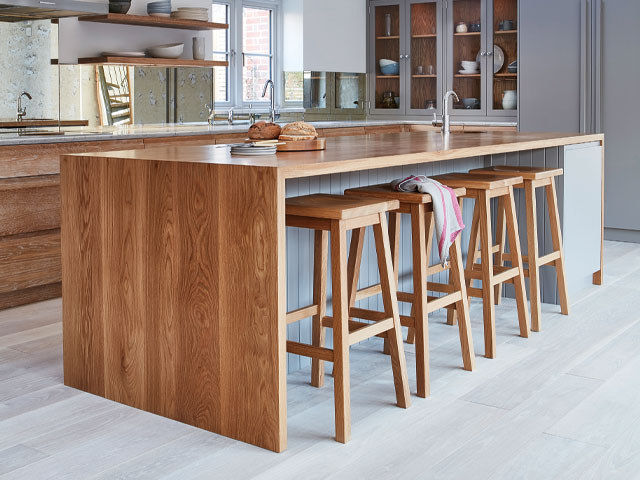
Bespoke kitchen in brushed limed grain oak and Flint with waterfall super stave oak worksurface, from Naked Kitchens
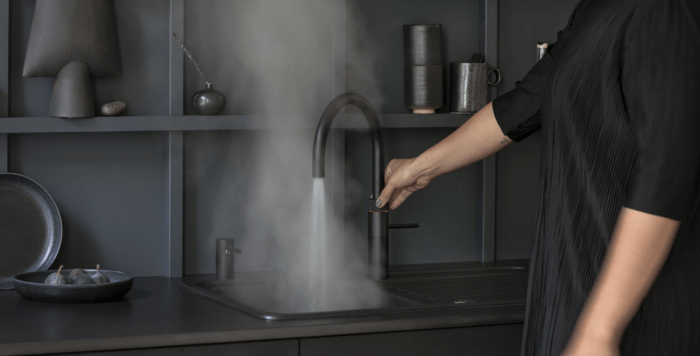
Consider the plumbing
Decide early on whether you want to include a sink because relaying pipework to the island will need to be planned into the build schedule.
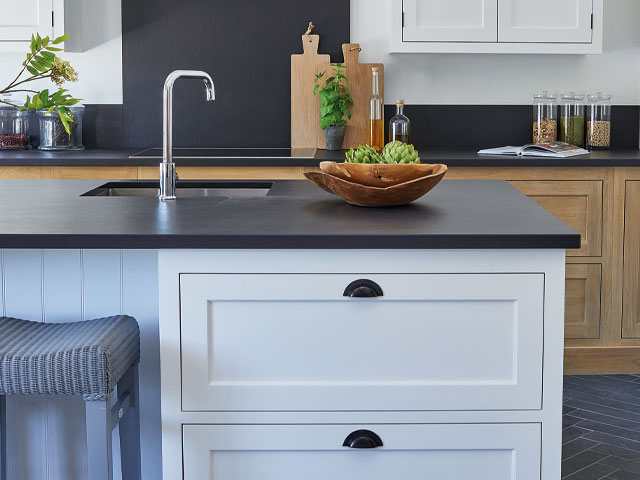
Henley painted and solid oak kitchen with medium stainless-steel sink and Molton single lever tap from Neptune
A place to eat
Incorporating a built-in tabletop is a space-saving way to create a dining area, whether at right angles to the island or extending out from one end.
Studio Urbo and Metro kitchen with shark-nose edge quartz worksurface and handstained timber bar, Roundhouse
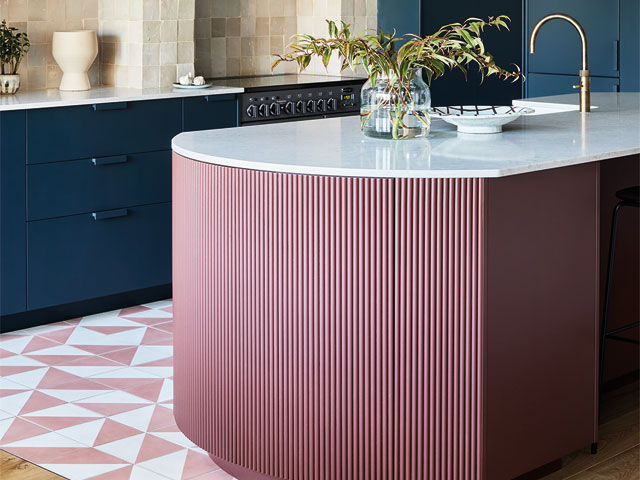
Make it stand out
One way to make an island the design centrepiece of your scheme is to clad the vertical and horizontal surfaces in a natural stone or composite material that has bold markings or colour.
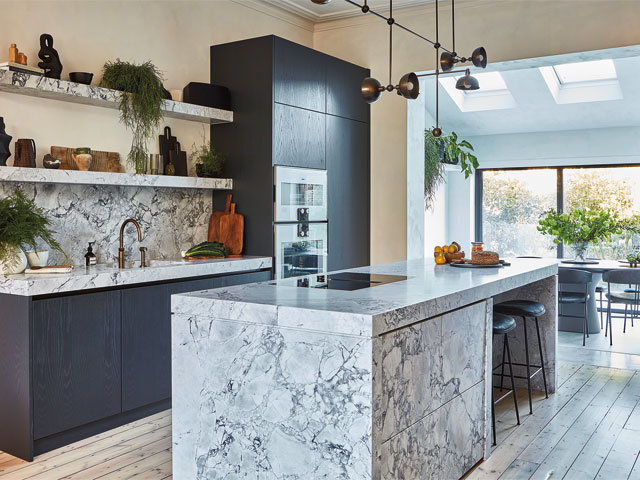
Bespoke kitchen with marble-clad island, from Blakes London
Retrofit option
Add an island to your existing scheme with a freestanding design. Ensure there’s 1m of free floorspace all around. Suppliers include Cox & Cox and Neptune.
Chester island in midnight blue with granite and oak top, L1,480xW630xH900mm narrow larder cupboard, W700xD550xH1,900mm from The Cotswold Company
Keep it together
A standalone cook station with prep area, ovens, hob and sink is something to consider in a spacious open-plan room. Everything is within easy reach and the nearest wall can be dedicated to cabinets for food and kitchenware storage.
Handleless slab kitchen in light oak and oxidised amber from Mereway Kitchens
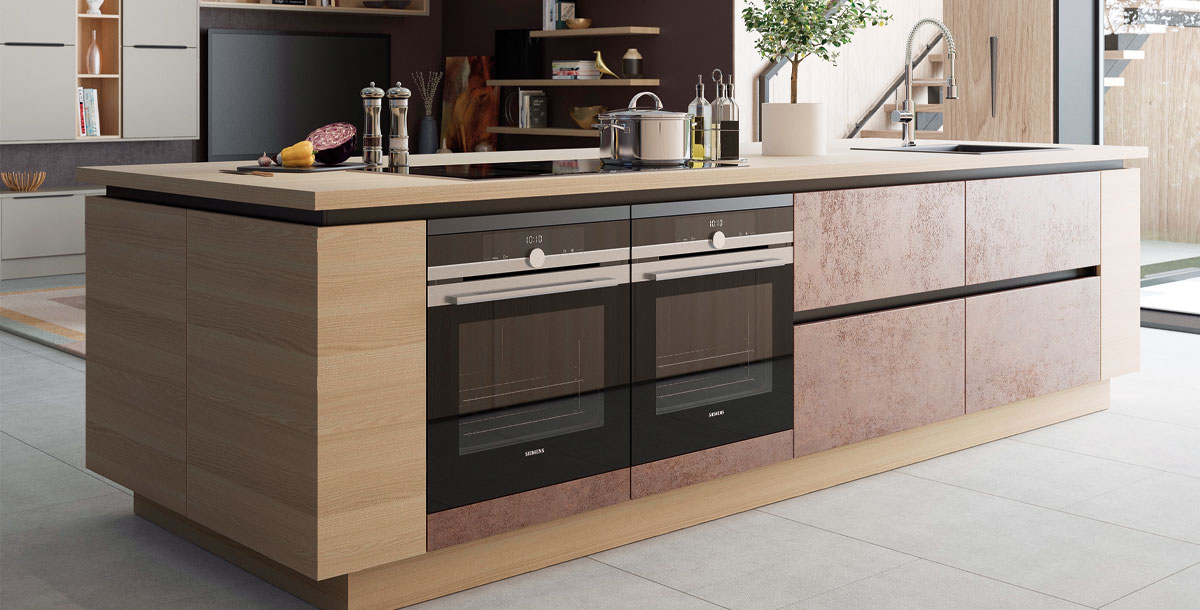
Safety first
Induction plates are a safer option for an island with a seating area and hob.

Novy One Pro vented downdraft induction hob, 780x520mm from Novy. Bespoke kitchen from Snug Kitchens
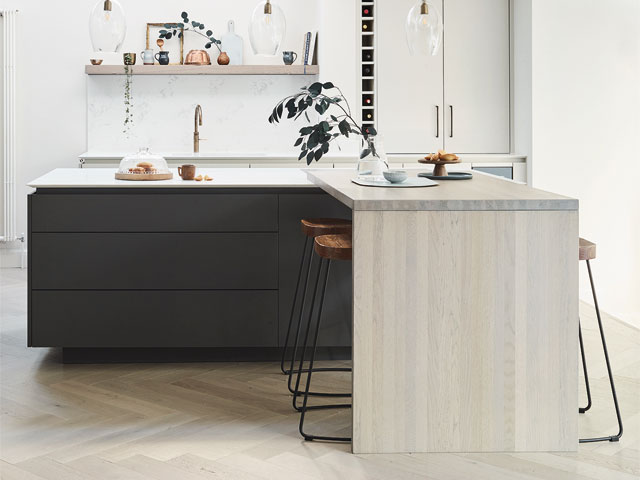
Surface practicalities
Specify two or more worksurfaces in your design to suit the different ways you use the island. Robust non-porous materials are ideal around a hob or the sink; timber is great for food prep.
Bespoke handpainted kitchen from Mowlem
Decorative contrast
Consider routed timber or MDF panel cladding to bring some texture to your design. Kitchen designed by A New Day.
Cabinets with MDF Bloc and ribbed fronts spraypainted in Kigali by Paint & Paper Library and Rothschild Street by Mylands, from Hølte
Take a stand
A design on legs helps a room look bigger and lighter because you can see the floorspace beneath the unit. Power cables can be run inside or behind the legs.
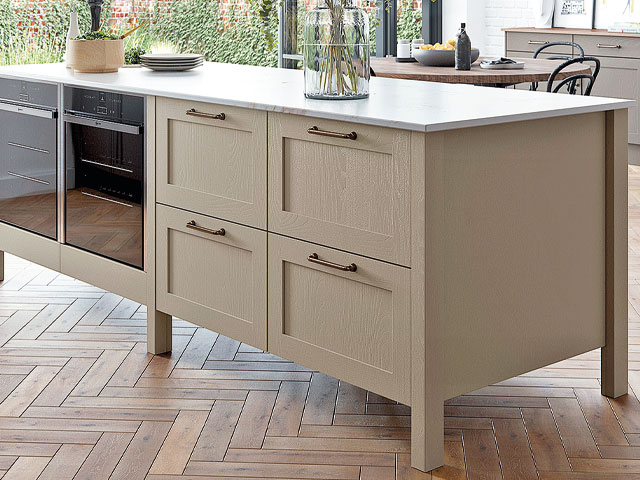
Hardwick Highland stone Shaker kitchen from Masterclass Kitchens
Good as new
Repurpose a salvaged shop or museum counter or display cabinet. Search Salvoweb for vintage and reclaimed pieces.
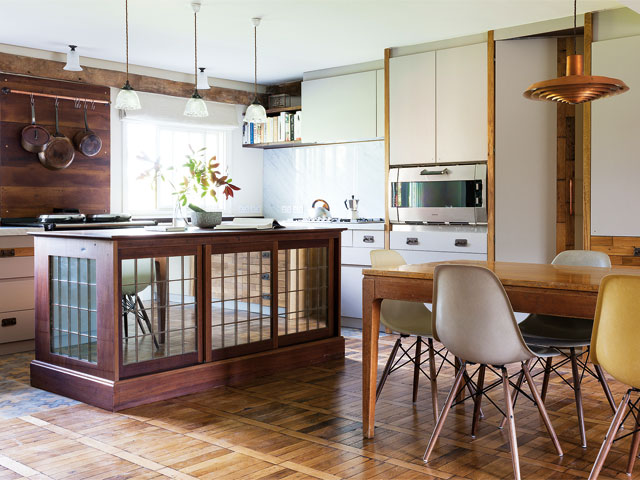
Reclaimed mahogany shop and museum display cabinets, copper light windows, rewired holophone glass pendants all from Retrouvius
Make it mobile
A moveable unit fitted with lockable castors can serve as a room divider and handy food-preparation area and be pushed to one side as needed.
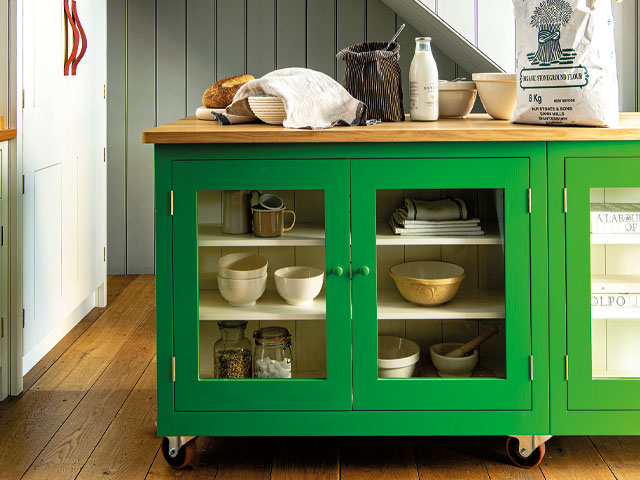
Freestanding mobile island primed ready for painting in two standard or customised sizes from British Standard by Plain English
Extraction point
Island extractor advice from Sean Drumm, managing director of Falmec UK
- Team a hob with an extractor or cooker hood to eliminate moisture, odours, heat and smoke that arises when cooking.
- Overhead extractors take the form of discreet inset ceiling designs or decorative suspended hoods. Choose from ducted models that extract air either via the roof or the ceiling to an outside wall and recirculating models that clean the air over a filter before returning it to the room. Hanging designs also need to be positioned at least 650mm above an electric hob and 750mm above a gas hob.
- Surface extractors include slimline downdraft models that sit flush within the worksurface and rise up for operation, or vented induction hobs with extraction built in. Both types recirculate stale air, and you should check exactly how much space your chosen model requires for the mechanism in the cabinet below.
- Look for different speed settings that enable you to adjust the extraction rate when cooking. An intensive or boost speed is handy for pungent foods or if something is burnt. A top extraction rate of 800m3/h should ensure the room remains free of grease and oil.
- It’s important to check noise levels, especially in open-plan spaces. Noise output is measured in decibels (dB) and you should refer to the highest setting when comparing levels. The quietest models measure 50dB or less. Falmec’s NRS (Noise Reduction System) extractors achieve 45dB at maximum speed and 37dB on level one.
- To ensure maximum efficiency, low running costs and reduced emissions, look for the new E-label. This rates products on a scale from A-G, with A being the best. Your chosen extractor should also come with at least a two-year guarantee.